I live in the Pacific Northwest, close to saltwater. Even without the proximity to saltwater, the climate is generally damp. So I decided to epoxy prime all aluminum parts prior to assembly. (The steel parts came from the factory prepainted with an epoxy primer). Parts were etched with AlumiPrep 33 and Alodyned (1201). They were then painted; at first I used Pratt and Lambert 724-400 (Part A) mixed 1:1 with 724114 (Part B Adduct). (Both covered under MIL SPEC P-23377F). However, my supplier switched brands so I am now using Sterling 1201/1202 reduced with 20% 1289 reducer. The paint is fairly expensive (the above mix costs about $85 a gallon). I originally used a standard pressure spray gun, but for small parts the amount of paint wasted in overspray was getting expensive, so I got a touchup gun that allows me to better control where the paint goes. It has been perfectly adequate.
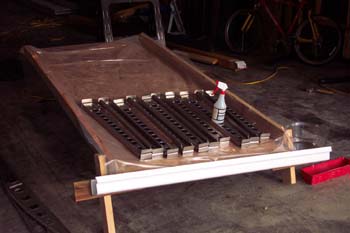
An etching apparatus, made from a sheet of 1/2" OSB roofing sheeting covered with heavy clear plastic and supported so it drains down and to one end. Plastic gutter catches runoff into container for reuse.
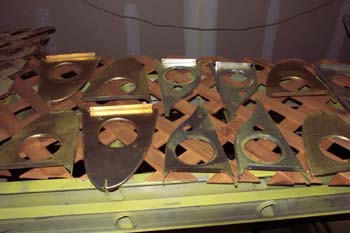
Nose and trailing ribs showing straw color as result of etch and alodyne. I've found that different materials respond differently to alodyne; some turn color immediately while others are barely colored. These pieces were all dipped, but some show much more color than others.
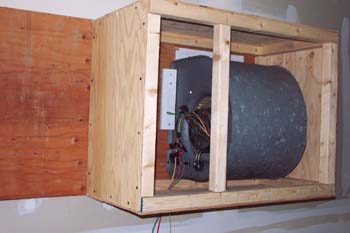
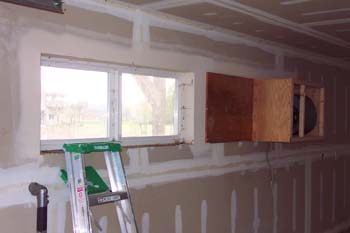

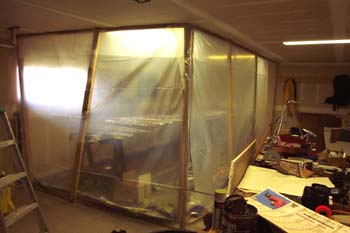
These are pictures of my homemade paint spray booth. The squirrel cage blower came from a local furnace repair company that gave me a used blower (it is great!). I made a plywood box and mount that fits a window opening in my garage and vents to the outside. I duct-taped furnace air filter material (cut to fit) over the front, but it only filtered most of the overspray; quite a bit went through the blower and out the window, but at that point it was dry so was easily cleaned up. I used a supplied air system (Hobby, sold by AC Spruce).
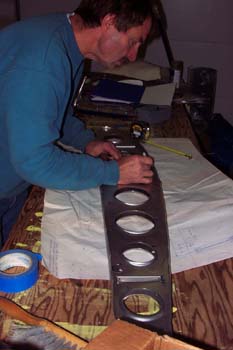
Marking root wing ribs for fuel fitting holes.
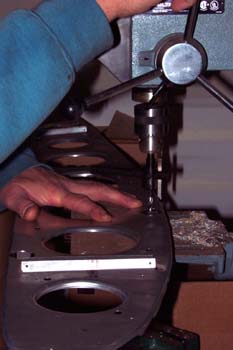
Instead of a hole saw (as Morgan used on tape), I mounted a fly cutter in my drill press. Hole size is easily adjustable, but requires care to get a clean hole.
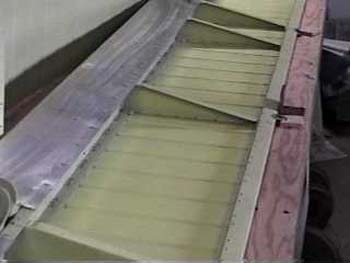
Aileron just prior to riveting bottom skin, showing yellow epoxy primer.
 The
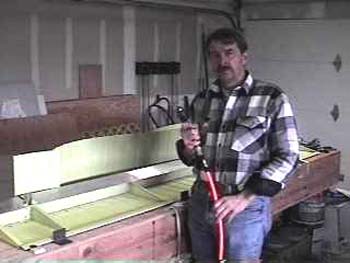
tireless builder, captured with drill in hand, skinning an aileron.. Commercial
#30 drill stop worked fine; if you make your own, make it well, because there
is LOTS of drilling to be done.
The
tireless builder, captured with drill in hand, skinning an aileron.. Commercial
#30 drill stop worked fine; if you make your own, make it well, because there
is LOTS of drilling to be done.
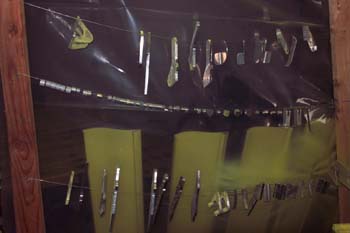
Parts arranged to be primed. Small parts were hung on wires, but it was difficult to keep them from sliding into one another (wet paint makes a great lubricant that allows parts to slide easily.)
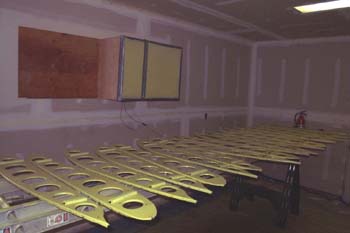
Ribs after spraying. Also shows dust buildup on blower filter.
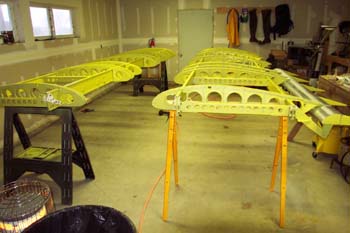
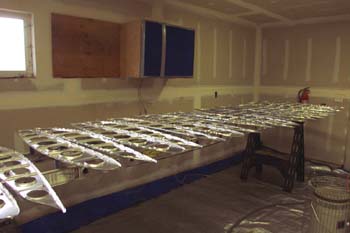
Spray booth disassembled til later. Wings in early stage of assembly (I had to get an unskinned flap and attach to hinges, just to convince myself it was really going to work). The large amount of bright yellow parts seems to cast a yellow glow on the whole garage.
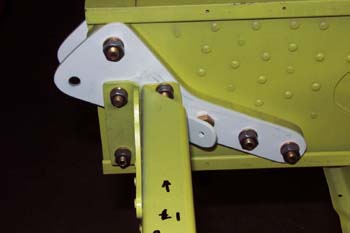
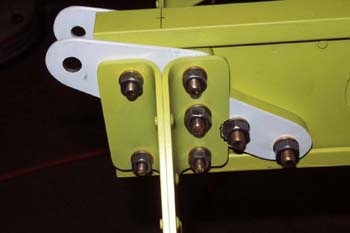
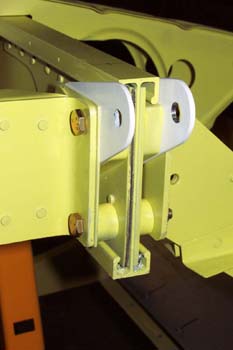
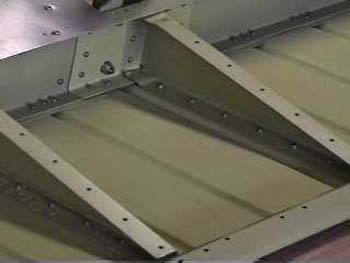
Various views of front and rear main attach fittings on root end of wings. It is remarkable how accurately everything has gone together, and the dimensions are working out perfectly. Thanks Morgan for accurately predrilling the spars and fittings. Obviously the nuts are just "hardware store" variety; still need to disassemble and deburr prior to final assembly.
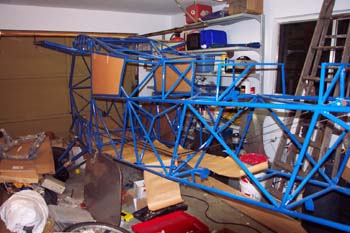
The fuselage (top-coated with Dupont two-part paint) is being built simultaneously in friend's garage where I live during the week, so I think fuselage during the week and wings on weekends. Half a two-car garage seems to be adequate; tailwheel is up on workbench. Wheels were removed and axles rest on 2x4s because of low overhead door.
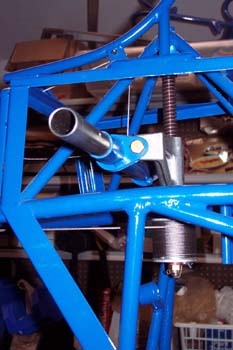
Jackscrew assembly. The large rear pulley and multiple wraps are very effective. I installed a grease fitting in top of cross tube holder facing this side of fuselage, which will be a large access cover.
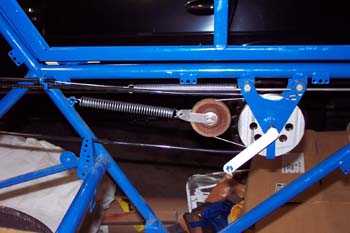
Front pulley and tensioner spring for trim system. It really works smoothly and cranks the yoke up and down in short order.
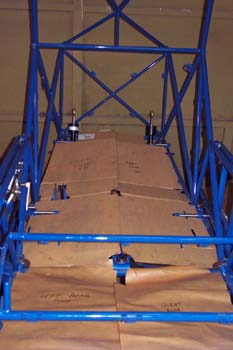
Cardboard floorboard templates in fuselage. Seems like no matter how accurate I try to be with the cardboard, the plywood always has to be adjusted. I bought 1/4" birch AB plywood (two sheets), stained and polyurethaned, but Morgan's suggestion of mahogany plywood would have worked just fine and been a lot cheaper too. 1/4" is more than adequate; the amount of support tubing in fuselage makes for plenty of rigidity.
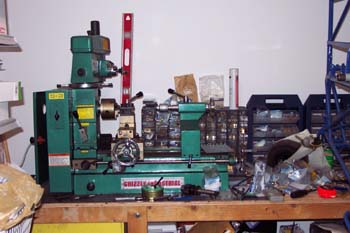
The work bench, showing a Grizzly combo lathe and milling machine. I made fancy hinge tubes for the rudder pedal arms by turning down 1/2" 4130 tubing; I've had problems with removing similar tubing on the stinger of my Cessna 180 after several years of use, so wanted to ensure plenty of clearance. It is also nice to adjust parts slightly or mill flats on spacers or even fabricate a part if I damage something (hasn't happened yet, but I suspect I've been lucky).