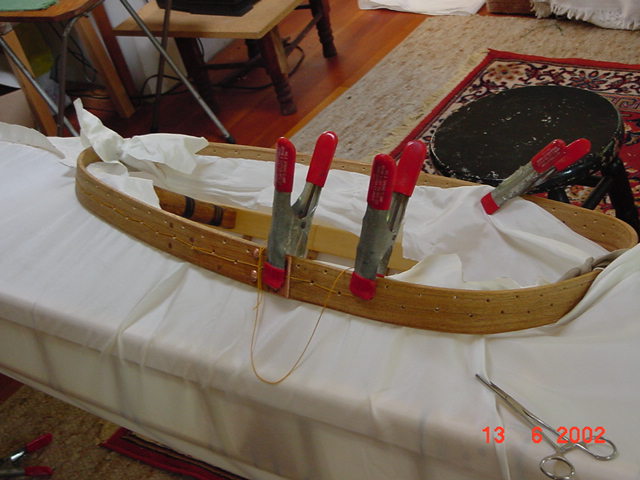
photo: Michael Elder
Kayak Way's
(There's enough material on this subject to fill a book - a
project I am
just now finishing for publication. What follows are a few observations
and principles picked up in the pursuit of knowledge. No attempt at completeness
is claimed.)
© Skip Snaith 2002
The idea of using heat-induced shrinkage to help fit kayak-skins
is an attractive idea for many skin boat builders today, because it offers
an easy way to overcome most of the difficulties that arise from fitting
a sewn cover. Much of what's available about kayak covering on the net
right now is mainly concerned with this particular approach.
Shrink fitting is an excellent method, that’s why it’s part of the
covering
system in use at Kayak Way. But it’s only part. As with any real
world
system, shrink fitting has limitations and constraints for the user as well
as benefits.
My experience over the years has led me to a three-tiered
approach to frame-covering that emphasizes stretching, fitting and
finally shrinkage, pretty much in that order.This technique evolved
from a fairly diverse teaching and building experience, and I can vouch
that it works with a wide variety of people, places and hull types.
A key element is that maximum stretch be applied
to the cloth at all times; by hand, by pull on the sewing thread, and by
the use of temporary tackles when the above methods are inadequate.
Stretching begins with the first draping of the hull, and continues right on
until the last seam is closed.
Trimming is an essential part of fitting,. It's important not to trim too short,
since you either have coverage or you don't. As you fit, don't trim more than
you need, or get too far ahead of yourself. On the other hand, too much excess
cloth is hard to handle properly. You need to trim excess cloth to the extent
that you can get a good grip on the cloth without wrinkling it. A grip that
creates wrinkles is self-defeating.
There are a handful of stitches that can be used when it's time to sew.
The rolled seam has been widely described. It is useful and fairly simple.
Some of the stitches recommended in the literature are less useful;
I prefer stitches where the final trimming comes after the sewing,
not before. As with the rolled seam, most of these stitches, are based on some
form
of running stitch. In this case, picking the correct stitch-length is half the
battle.
Seams can also be made in two-parts; they use a second pass with another
stitch to finish them off. The raw edges are neatly hidden under a narrow fold.
This fold is best if it is ironed. In return for the extra work you get a lower
profile
and more invisible seaming.
With a running seam, the way you gather up the cloth with the non-needle hand
just prior to taking each stitch is critical. The skin should be tight and smooth.
Needle placement is also important. You should take your stitch right on top
of
the deck ridge. With correct needle placement each stitch will be able to pull
with maximum effect. This can be confirmed visually if the two halves of the
deck seam do not quite meet, even under tension. If they touch, they probably
aren't tight enough.
When relying on shrinkage in cloth, there are several variables to
consider. The physical properties of the fabric itself are important,
because no two fabrics, and no two fibers are
quite the same.
Differences in weave, yarn and fiber will each have an effect.
Treatment after weaving, especially heat-treatment can be another factor.
Heat-treating is also pre-shrinking; untreated cloth has more shrink
available for you to work with.
The effects of heat shrinkage may be more fugitive in some yarns
than others. Nylon actually swells as it absorbs water and water vapor
and contracts as it dries. This contraction usually requires
an ambient temperature rise, but this is not quite the same thing as a permanent
fiber shortening through the application of heat. Nylon does appear to
have a limited degree of heat-shrink, but in general it is less susceptible
to this treatment than polyester (Dacron) is.
Given widespread variation, the actual percentage of shrinkage
you can expect from a given fabric is estimated from 1-2 %
on the low side to a high of 30-40 %. That's why you
should do some tests on scrap pieces. The fabric with the
highest percentage of reduction is specially formulated aircraft
fabric that comes in fairly light weaves. It may not be serviceable
for all uses.
My own preference is for the lighter weight
cloths: 8 0z. for nylon and 9 0z. polyester. They sew well and
seem to cause fewer problems. I like Aircraft cloth but haven't
used it long enough to make recommendations.
These are personal choices, you are free to use any type and
weight of cloth you want.
Hull shape is a factor too. Some shapes are much easier to cover than others.
Long, easy tapers will generally take less fitting than shapes with sudden
tapers and sharp changes in width. It will take less ironing, and less shrinkage
to fit a long, narrow baidarka than it will for a short and stubby surf kayak.
With a low-shrink cloth and the wrong sort of hull-shape you may find
that shrinkage alone cannot do everything you need. Cockpits are
often trouble areas.
That is why fitting is an important part of covering technique. Simple
fitting techniques such as darts and gathers were worked out a long
time ago by sewing peoples. They are basically some sort of simple
folding technique. They can be used with great effect in kayak covering.
In practical terms you will find it best to use all the tricks at your disposal.
I find it most logical to use heat shrinking as a final finish or last resort
after I have exhausted to possibilities of the other methods first.